Monday, February 16, 2015

Chickens in the snow

 I haven't brushed off the ramp, or scraped away the snow yet, so no one wants to come down.
 I had been holding a sprig of sorghum seeds so the Golden Buff flew over and landed on my arm.  I set her down in the snow, and she reacted pretty well.
 I had thrown out some fruit and veggie scraps a few weeks prior, and they managed to dig them up out of the frozen ground.

Winter quarters

The chickens are faring pretty well in this cold weather.  They don't like the snow at all, and won't venture outside unless I scrape away enough snow that they can see ground under it.  "Oh, and brush off the ramp too please."
After the first really cold spell we had this winter, the chickens with the longest combs got spots of frost bite on one or two tips.  To rectify this, I installed a false ceiling above their roost to keep a small pocket of warmer air above them, and prevent cold drafts from coming down.
I closed off most of the eave vents and one of the two gable vents.  So now there is one gable vent open above the roost, which is covered with a false ceiling (piece of 1/4" plywood) and about 18" of eave vent near the front of the North facing eave.

Vents are necessary even in Winter to allow humid air to escape.  Moist air causes condensation, and frost bite. 

I have an LED light running on a timer to give them extra daylight hours, hoping to keep them laying eggs.  They did continue laying through December, but started to slow down in January.  In the fall I was getting about 22 a week, and now only about 7-10.  My Golden buff continues to lay an egg a day almost without fail!

The only artificial heat I give them, on the really cold nights, is a 5 gallon bucket of hot water.  It never freezes solid even after a night in the single digits.  I also made a heated waterer by taping heat cable under the reservoir and water trough of my plastic waterer.  It's just enough to keep the water from freezing.

Tuesday, June 24, 2014

Almost done!

I've been so busy trying to finish up the coop so the hens could move in, I haven't had the chance to post any updates.  Here are a few shots of the last few details. A view from our second floor sunroom shows the West side siding installed, and one of the windows sitting inside it before it was installed.
I made the nest box out of the siding material, with a 3/4" plywood lid roofed with some left-over cedar shingles.  The lid is quite heavy, which I imagine will make it more predator proof.  There is one divider in the middle making two boxes 14 x 14 x 14" high at the back and 18" high at the front.

 The windows were removed from my house when we got new windows, and are installed with some galvanized strap hinges at the top, which will later be covered up with molding
  You can see behind the coop the run is now installed.  It's made with pressure treated 8 foot 4x4's in two feet of concrete.  There is 1/2" hardware cloth buried 6 inches deep and 12" out leaving about 32" above ground.  There is 2x4" welded wire fencing from the ground up to the top rail which is pressure treated 2x4's.  The top is covered with black polyethylene deer fencing.  There is a 3 foot wide gate (just visible in the next picture) so I can get in and out with a wheel barrow.  I plan on putting my compost in the run for the chickens to pick through and eat insects and worms that it attracts, and also add their manure to it.
The soffits are made of reclaimed pallet decking boards, and will be left unpainted because they will never receive direct rain water, and I like the look of the wood.  The paint scheme is from Sherwin-Williams from their Woodscapes line; it's called "woodcutter's cabin".  
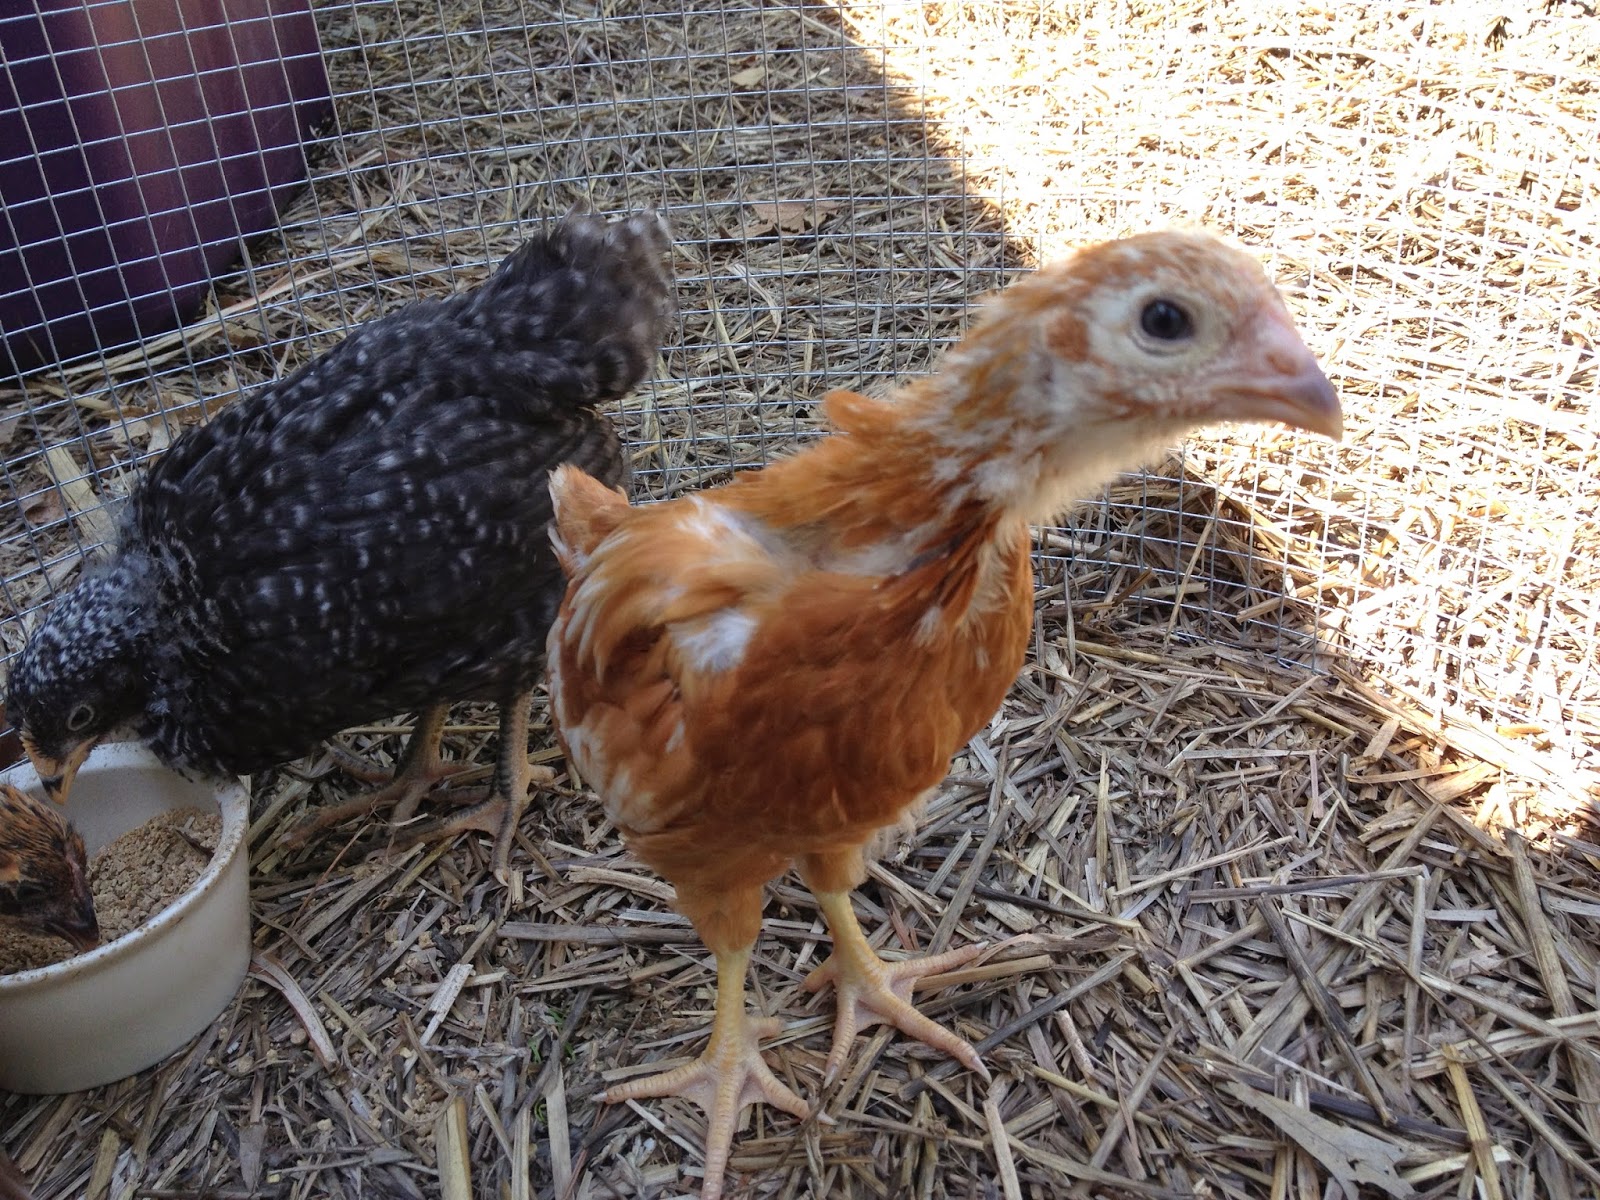
Here are the chickens when I first opened the door to let them out into the run.  They're 9 weeks old, and have been living in the coop for 1 1/2 weeks.
They loved it outside, and immediately began eating the barley, oats and wheat I planted for them.


Wednesday, May 21, 2014

Chick(en)s first time outside

I brought the chickens outside last Sunday for a taste of fresh air and the opportunity to scratch and peck a little.  The Speckled Sussex was the most comfortable scratching around, but the others just stood there looking a little shell-shocked for a while. Clockwise from top left they are: Freckles (Speckled Sussex) Ahsoka (Golden Laced Wyandotte) Lucy (Golden Buff) and B'Ellana (Barred Plymouth Rock)


Coop siding

The coop is gradually getting closed in; last Saturday I put the siding up on three sides. This took my Dad and I about 5 1/2 hours including a trip to HD to get the siding.  It took longer than I expected, but we also cleaned out half of my garage to make space for painting. I used T 1-11, which is an exterior grade plywood with a textured surface and vertical grooves to make it look like barn siding.  I cut the overall size and then applied one coat of Sherwin Williams Woodscapes, a semi-transparent colored polyurethane sealant that allows the woodgrain to show through.
 The siding on the gable end is left open at the top triangle, where the opening is covered with 1/2" hardware cloth, and will have a hinged door that could be closed in really windy, cold weather if necessary.  The two long sides are also open at the top 6 inches, which is not visible due to the overhanging eaves, but should provide plenty of fresh air for the chickens.
  The next day, I cut out the window and nest box openings with a sawzall. I then applied the polyurethane sealant to the cut edges to protect them in case they get wet.  This took about 1 hour. The next step will be installing the window and door frames and trim.

Tuesday, May 13, 2014

The Hens won't get wet

...So I won't have mad hens.

I finished the roof of the chicken coop last weekend.  Earlier in the week I installed the fascia boards and the plywood sheathing.  On Saturday I nailed up all the trim on the gable ends, installed drip-edge, tar paper, and shingles.  That job took about 4 1/2 hours with a helper. Much of the time he was just standing around and entertaining my 5 year old, which was a big help, but having him there to hand me shingles or cut ridge caps also saved me climbing up and down the ladder all day.
They say you need one bale of shingles for each 4x8 foot section of roofing, and my roof used two 4x8 sheets of plywood; but I bought opened bales with some damaged shingles (for 40% off).  I only had 5 shingles left, so I'm glad I bought three bales instead of two.
I'm very happy with how it turned out.  My two summers of roofing work paid off!  I might eventually install gutters and a rain barrel, but I'll wait on that until everything else is done.  The clock is ticking and the chicks are growing rapidly, so I need  to get their home ready for them.

Thursday, May 1, 2014

Roof framing

This past weekend I worked alone, and although I completed the work I had planned, there were some tense moments and frustration that could have been avoided with a helper.  Next time I'll call a friend.  I built one side of the roof framing on the ground and then lifted it up to nail it in place.  That was very difficult alone, and would not recommend it. The next side I did in segments.  Here are the details:

The West gable end has an overhang of 12" to provide weather protection for the door (facing you in the picture below).
The eaves overhang 16" in a straight line which is about 12"horizontally out from the wall.

The East gable end (on the right in the picture below) is flush with the wall to allow the run fencing to attach to the wall.  There is a small overhang at the very top to keep rain out what will be a triangular vent, this will be above the top of the run.


Instead of cutting out notches on the rafters to rest on the top plate, I made little triangles to transfer the load onto the wall.  I had no choice because of how the rafters sit on the gables, but I feel better with no notches since the rafters are only 2x4's and there is a large overhang.