Wednesday, May 21, 2014

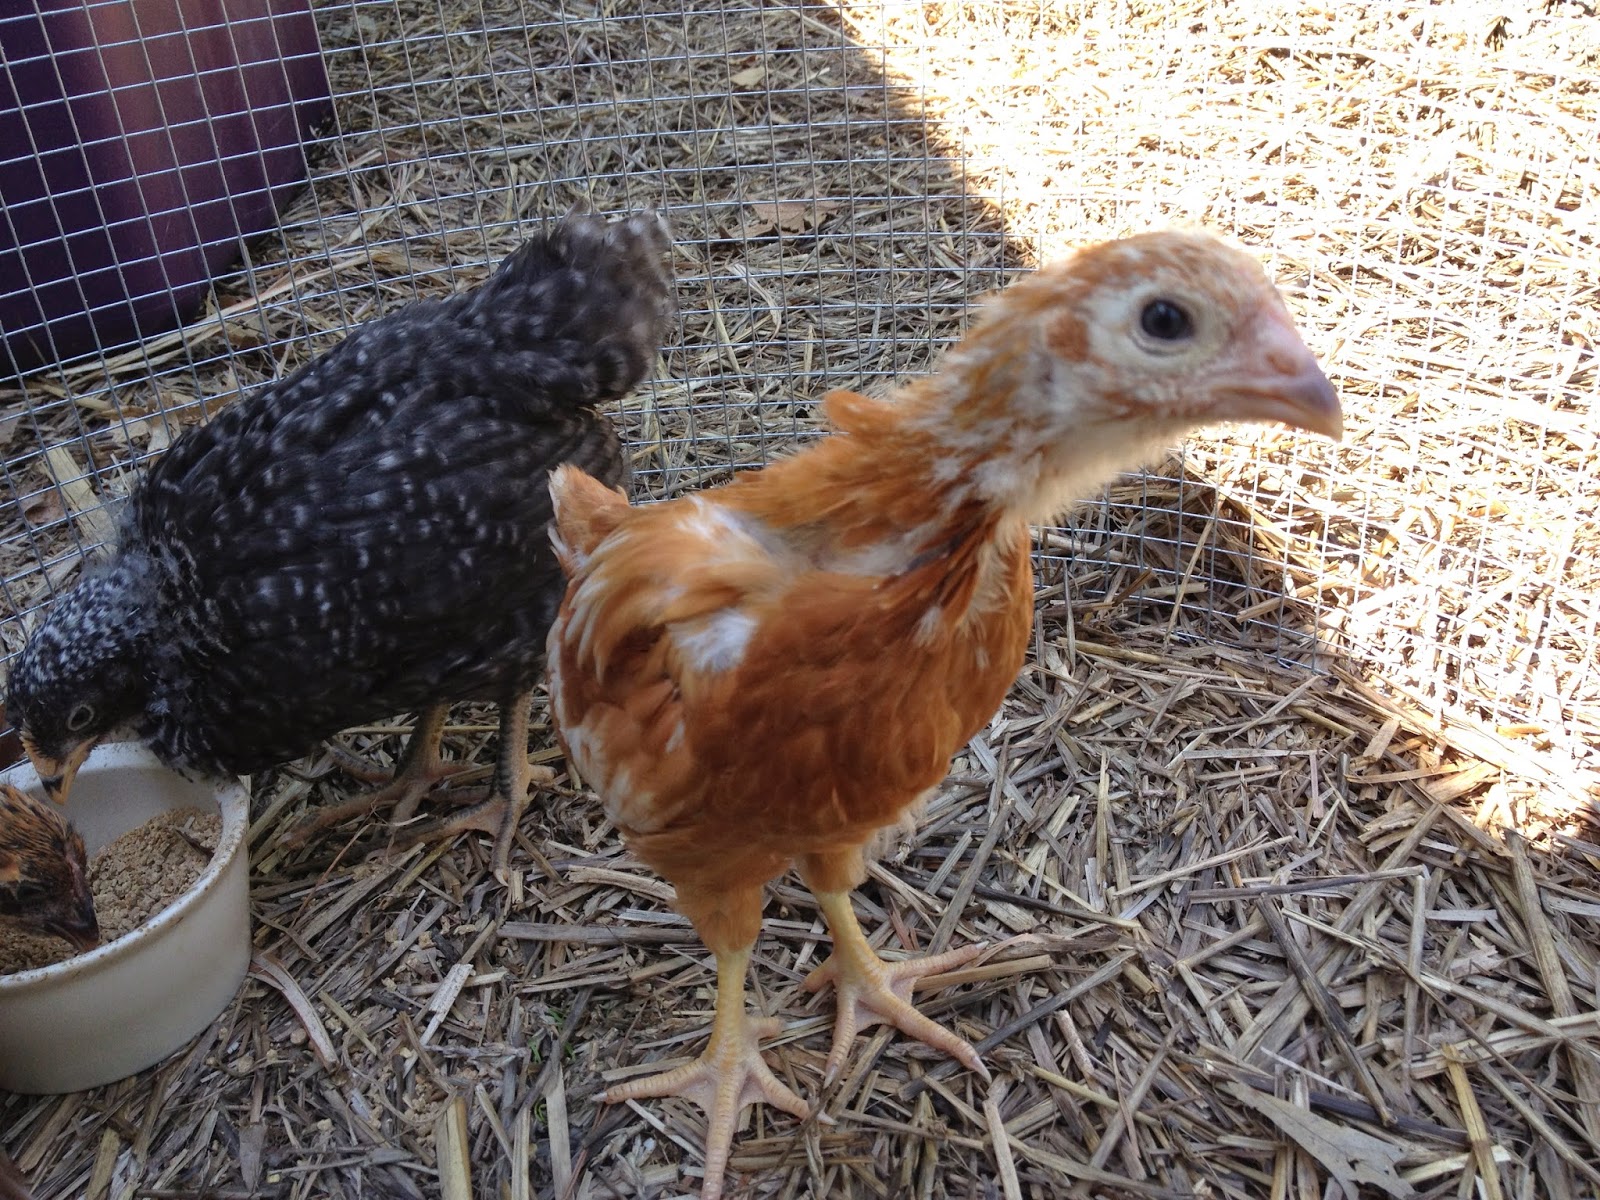
Chick(en)s first time outside

I brought the chickens outside last Sunday for a taste of fresh air and the opportunity to scratch and peck a little.  The Speckled Sussex was the most comfortable scratching around, but the others just stood there looking a little shell-shocked for a while. Clockwise from top left they are: Freckles (Speckled Sussex) Ahsoka (Golden Laced Wyandotte) Lucy (Golden Buff) and B'Ellana (Barred Plymouth Rock)


Coop siding

The coop is gradually getting closed in; last Saturday I put the siding up on three sides. This took my Dad and I about 5 1/2 hours including a trip to HD to get the siding.  It took longer than I expected, but we also cleaned out half of my garage to make space for painting. I used T 1-11, which is an exterior grade plywood with a textured surface and vertical grooves to make it look like barn siding.  I cut the overall size and then applied one coat of Sherwin Williams Woodscapes, a semi-transparent colored polyurethane sealant that allows the woodgrain to show through.
 The siding on the gable end is left open at the top triangle, where the opening is covered with 1/2" hardware cloth, and will have a hinged door that could be closed in really windy, cold weather if necessary.  The two long sides are also open at the top 6 inches, which is not visible due to the overhanging eaves, but should provide plenty of fresh air for the chickens.
  The next day, I cut out the window and nest box openings with a sawzall. I then applied the polyurethane sealant to the cut edges to protect them in case they get wet.  This took about 1 hour. The next step will be installing the window and door frames and trim.

Tuesday, May 13, 2014

The Hens won't get wet

...So I won't have mad hens.

I finished the roof of the chicken coop last weekend.  Earlier in the week I installed the fascia boards and the plywood sheathing.  On Saturday I nailed up all the trim on the gable ends, installed drip-edge, tar paper, and shingles.  That job took about 4 1/2 hours with a helper. Much of the time he was just standing around and entertaining my 5 year old, which was a big help, but having him there to hand me shingles or cut ridge caps also saved me climbing up and down the ladder all day.
They say you need one bale of shingles for each 4x8 foot section of roofing, and my roof used two 4x8 sheets of plywood; but I bought opened bales with some damaged shingles (for 40% off).  I only had 5 shingles left, so I'm glad I bought three bales instead of two.
I'm very happy with how it turned out.  My two summers of roofing work paid off!  I might eventually install gutters and a rain barrel, but I'll wait on that until everything else is done.  The clock is ticking and the chicks are growing rapidly, so I need  to get their home ready for them.

Thursday, May 1, 2014

Roof framing

This past weekend I worked alone, and although I completed the work I had planned, there were some tense moments and frustration that could have been avoided with a helper.  Next time I'll call a friend.  I built one side of the roof framing on the ground and then lifted it up to nail it in place.  That was very difficult alone, and would not recommend it. The next side I did in segments.  Here are the details:

The West gable end has an overhang of 12" to provide weather protection for the door (facing you in the picture below).
The eaves overhang 16" in a straight line which is about 12"horizontally out from the wall.

The East gable end (on the right in the picture below) is flush with the wall to allow the run fencing to attach to the wall.  There is a small overhang at the very top to keep rain out what will be a triangular vent, this will be above the top of the run.


Instead of cutting out notches on the rafters to rest on the top plate, I made little triangles to transfer the load onto the wall.  I had no choice because of how the rafters sit on the gables, but I feel better with no notches since the rafters are only 2x4's and there is a large overhang.